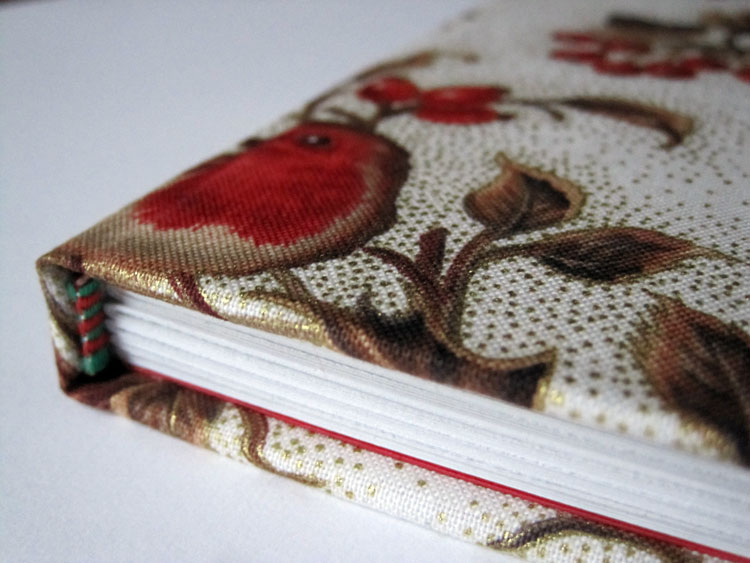
Hardbound Sketchbook Gift, 5.5" x 5.5"
(more photos of the finished result are at the bottom of this post)
(There is only one rule in bookbinding:
The grain in the paper, cloth and board must run from head to tail.
City & Guilds)
I'm actually working on five books at the same time and might do a sixth. This is a birthday present and I spent a lot of time wondering what colour to use for the ribbon tie, bookmark and endpapers as there are a few colours in the design that would do. I'm really happy with this green. Below, as usual, are work-in-progress images; to see some other books that I've made, click the 'bookbinding' label to the right.

What's going on here? Making templates for the stitching
One book must suffer so others might live!
The poor Yellow Pages has at least one use in our house -
it saves the furniture (and me) from being stabbed by the awl.

Three of the five text blocks, ready for the stitch holes to be punched.
My handmade Fabriano sketchbook in the background. I'm keeping that one.
Do you recognise the fabric?

You can see the templates for the 'square' and the A5 text blocks.

All the signatures in the text blocks have now been stabbed.
Stitching can commence. (I use waxed thread for added strength.)

Signatures stitched around two pieces of sewing tape and green endpapers added.
Spine glued with archival EVA and bulldogs hold it together for now.
(To see my stitching, see some of the other 'bookbinding' posts.)

When the glue is almost dry, the bookmark is added.

Headbanding added; I may sew my own one of these days!

Mull added for further reinforcement then a green lining strip added on top.

Making the 'case'. Greyboard for the front, back and spine is
measured out then adhered to the book covering with EVA.

Corners trimmed so they fold and tuck in neatly.

Folding before pasting.

Case made and spine creases added for a nice shape.

Slits made in the case, ribbon ties fed through then
the slits hammered closed to lock in the ties.
Archival glue added to ensure the ribbons cannot break free over time.

Magazine paper is as good as glassine paper to ensure
the endpapers don't stick together in the pressing process.

Boards added on top to protect the book covering and
to keep it all flat during the 12-hour press.

My usual 'stamp' hand-drawn/written.

Close up.

All done - top view.

Finito! Off to bed!